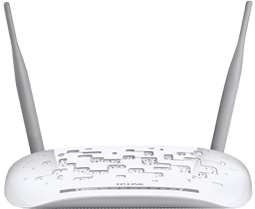
MODEM ROUTER SETUP GUIDETP Link TD-W9970

The modem router utilizes integrated VDSL2 transceiver and high speed MIPS CPU. The modem router supports full-rate VDSL2 connectivity conforming to the ITU and ANSI specifications.
In addition to the basic DMT physical layer functions, the VDSL2 PHY supports dual latency VDSL2 framing (fast and interleaved) and the I.432 ATM Physical Layer.
The modem router provides up to 300Mbps (2.4GHz) wireless connection with other 802.11n wireless clients. The incredible speed makes it ideal for handling multiple data streams at the same time, which ensures your network stable and smooth. The performance of this 802.11n wireless Router will give you the unexpected networking experience at speed much faster than 802.11g. It is also compatible with all IEEE 802.11g and IEEE 802.11b products.
With multiple protection measures, including SSID broadcast control and wireless LAN 64/128 WEP encryption, Wi-Fi protected Access (WPA2-PSK, WPA-PSK), as well as advanced Firewall protections, the modem router provides complete data privacy.
The modem router provides flexible access control, so that parents or network administrators can establish restricted access policies for children or staff. It also supports Virtual Server and DMZ host for Port Triggering, and then the network administrators can manage and monitor the network in real time with the remote management function.


Input all others same as below(Enable Vlan ID, 10 for VLAN ID, PPPoE for Connection Type) and click Next.

- Username : Put your username for PPPoE authentication.
- Password : Put the password for your username
- Confirm password : Type the password one more time
Click Next.


Check Wireless is Enable.
- Wireless Network Name : The name you can see among available wireless networks.
- Channel : Leave it as default, Auto
- Mode : 11bgn mixed
- Security : Select WPA2-PSK/WPA2-PSK recommended
- Password : Put the password which will be used for your WIFI authentication. It should be better to set this easy to remember and hard to guess. Keep it safe once it’s done.
Click Next to continue.


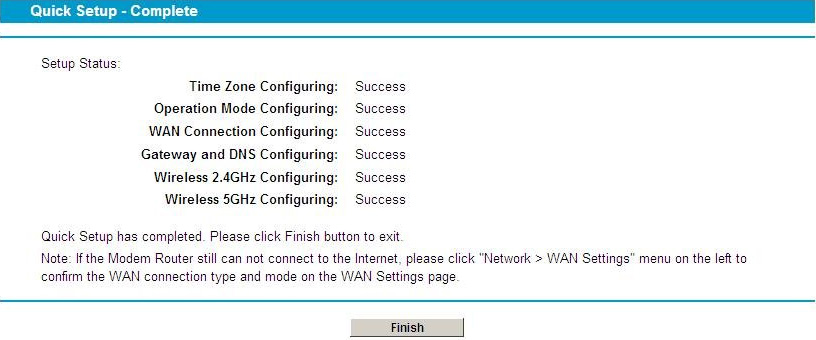
Click Finish to complete.

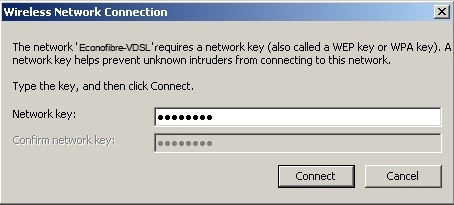
Go to your PC, search SSID you set at step8 from the available WIFI networks.


